
Create Custom Dashboards
Fund Managers, counsels, and administrators have the ability to create multiple dashboards in a single fund to cater to the needs of different teams. Dashb
Fund Managers, counsels, and administrators have the ability to create multiple dashboards in a single fund to cater to the needs of different teams.
Dashboards have two levels of permissions associated to them:
Public
This setting is used for dashboards that are meant to be shared with others. The access to the dashboard can be configured to specific or all groups.
It is used for collaboration of specific teams who want to organize data for themselves in a specific way, can be defined by specific orders of columns, or hide columns that are not relevant.
Admins can also create custom dashboards to hide certain columns from a particular group.
Private
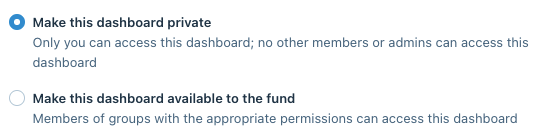
This setting is used to create your own personal configuration of the dashboard, which is not accessible to others. All the columns created can still be seen by users with admin permission but it allows you to arrange the data in your preferred way without interfering with others.
Create a Public Dashboard
- In the Fund Sub, click Permissions:

- Choose Dashboards on the left Nav bar:
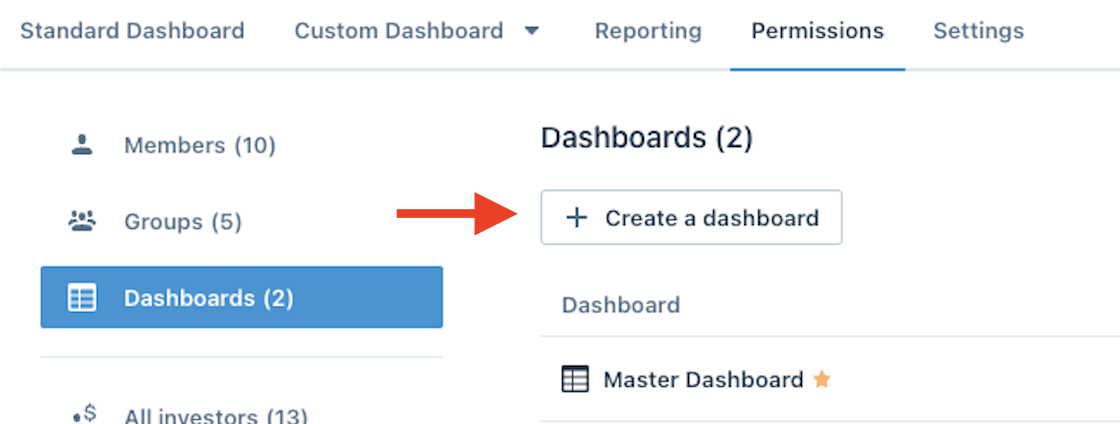
- Select Create a Dashboard:
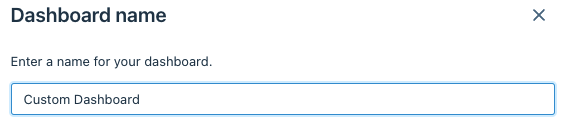
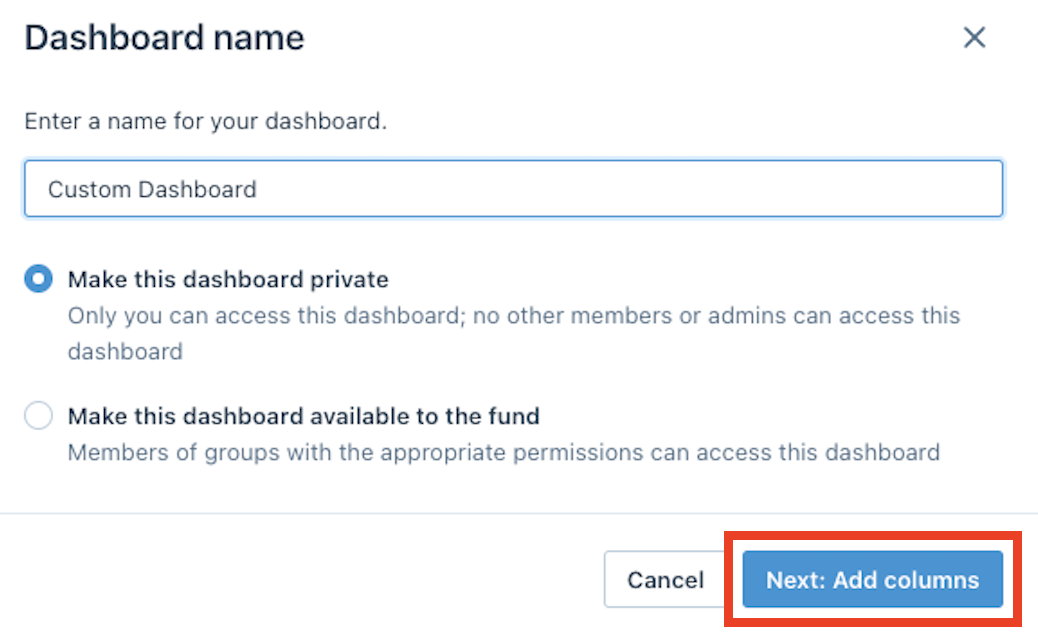
- Enter a name for the dashboard:
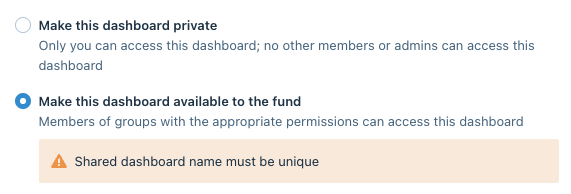
- Select Make this dashboard available to the fund:
- Click Add Columns:
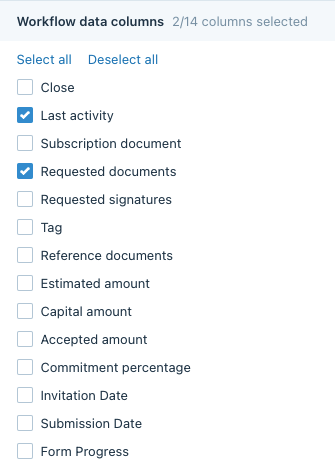
- Choose the fields you would like to display on the dashboard by adding the columns:
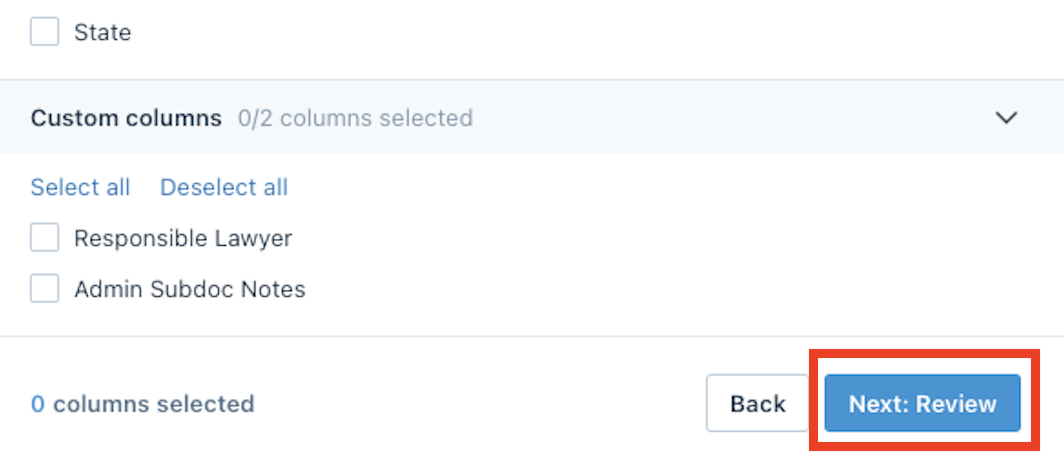
- Once completed, click Next: Review:
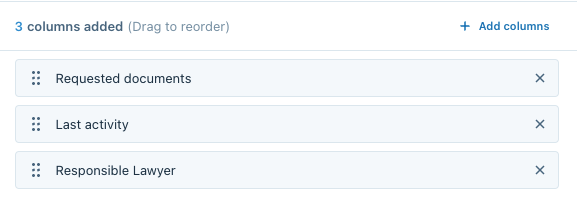
- Reorder the columns by dragging them into the desired order:
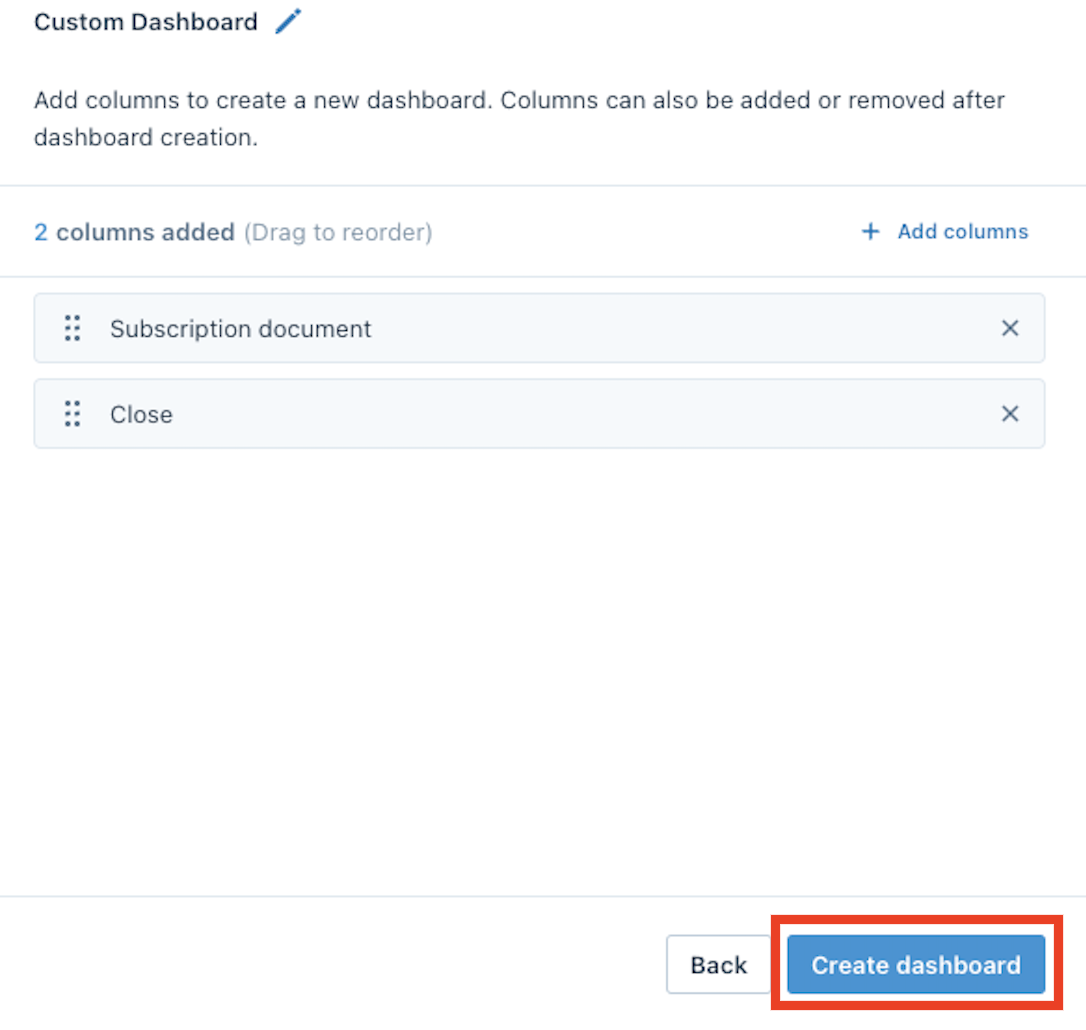
- Click Create Dashboard:
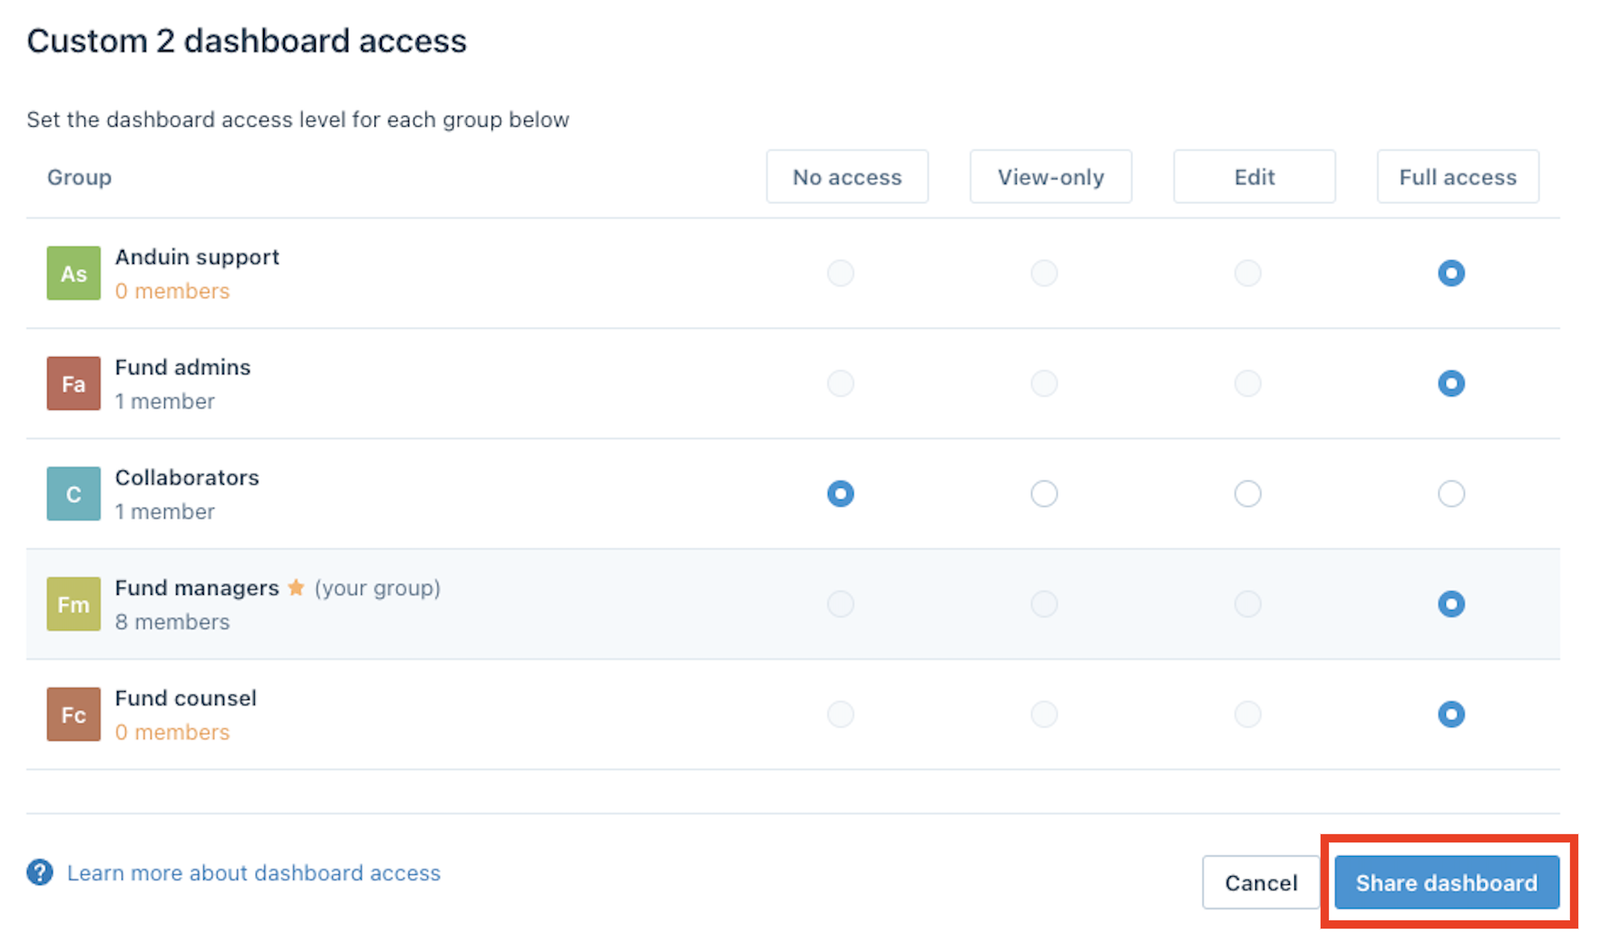
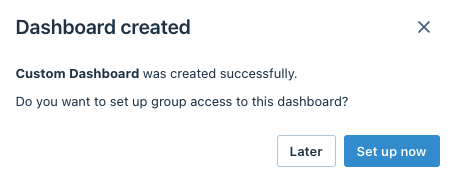
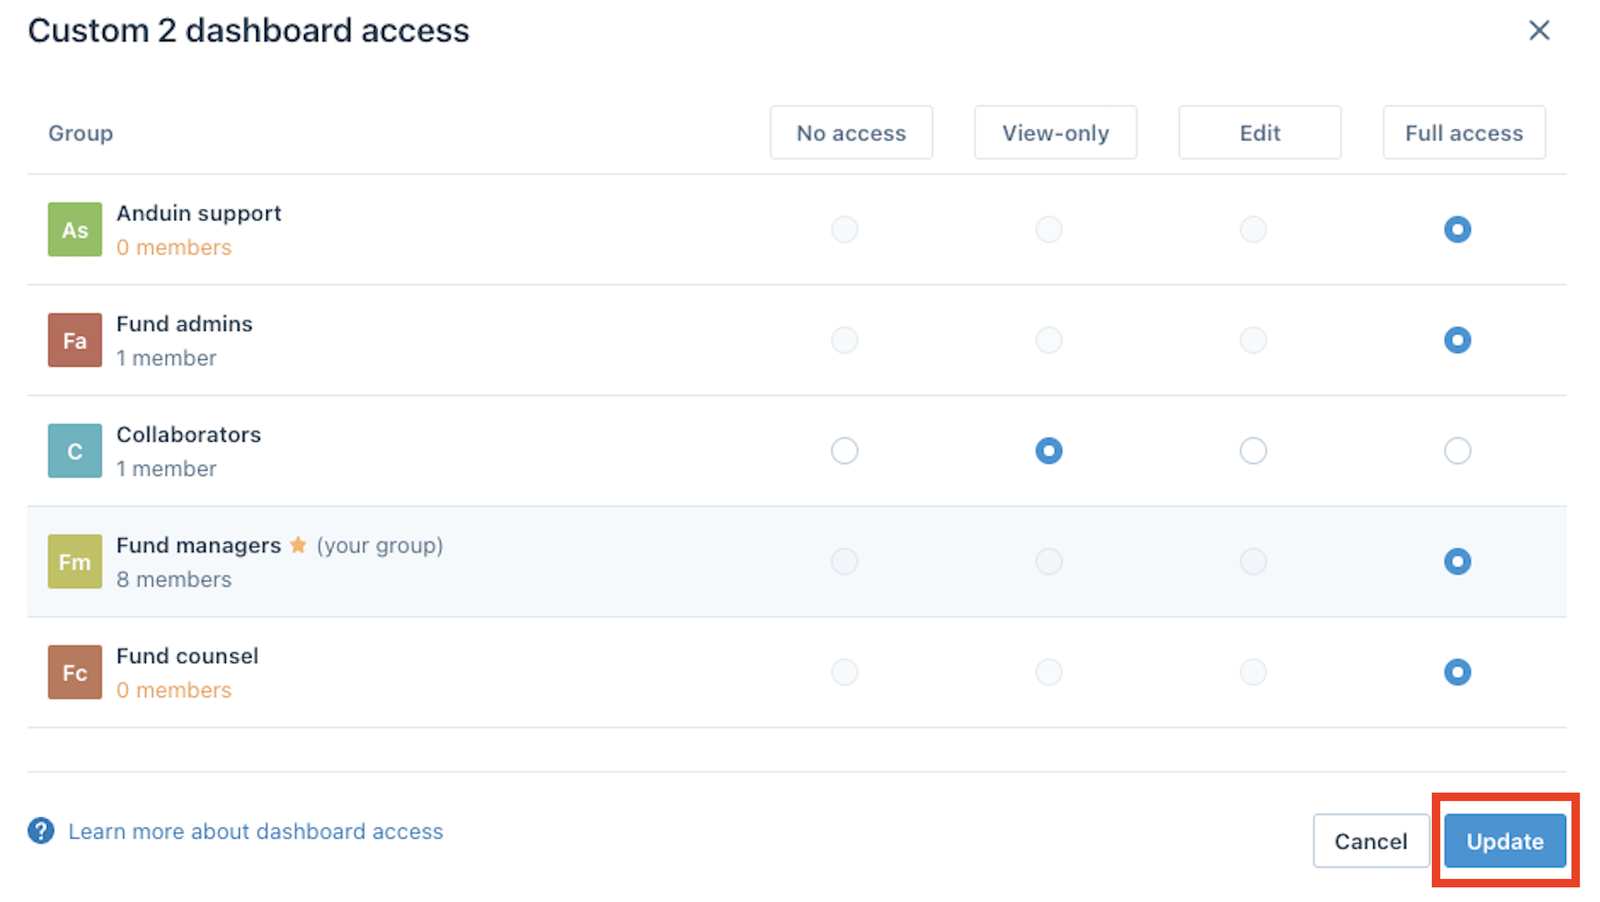
- Choose to setup group permissions to view the Dashboard now, or add them later:
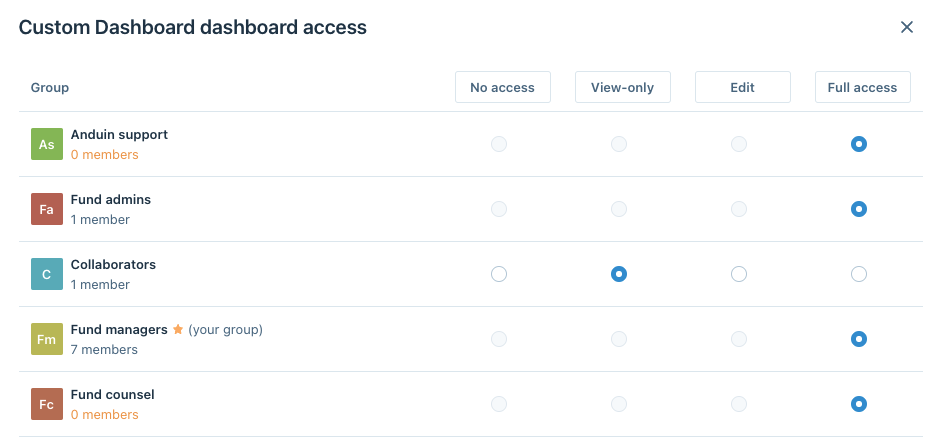
- If adding now, change the permission level for each group:
- Click Update:
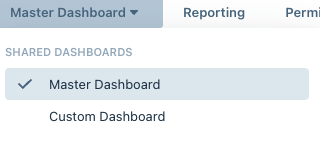
- Under Master Dashboard, click the down arrow and you should now see your custom dashboard:
Create a Private Dashboard from Public Dashboard
- In the Fund Sub, click Permissions:
- Choose Dashboards on the left Nav bar:
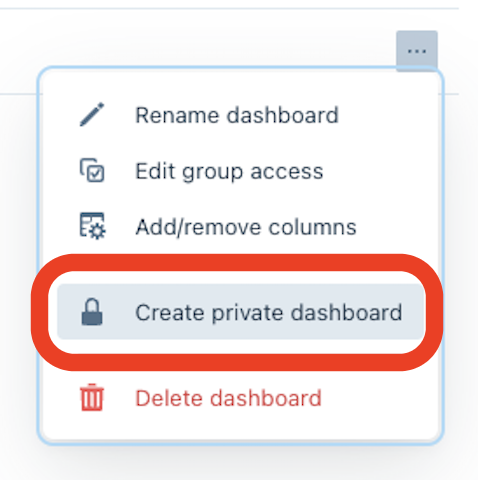
- Click the Menu(…) option on the right side of the dashboard you want to duplicate:

- Choose Create Private Dashboard:
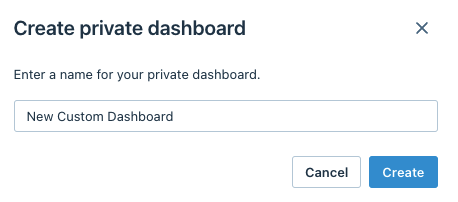
- Enter a name for your new dashboard and click Create:
- Under Master Dashboard, click the down arrow and you should now see your custom dashboard under Private Dashboards:
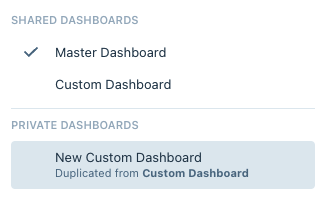
Create a Private Dashboard
- In the Fund Sub, click Permissions:
- Choose Dashboards on the left Nav bar:
- Select Create a Dashboard:
- Enter a name for the dashboard:
- Choose whether to make the dashboard private:
- Click Add Columns:
- Choose the fields you would like to display on the dashboard by adding the columns:
- Once completed, click Next: Review:
- Reorder the columns by dragging them into the desired order:
- Click Create Dashboard:
You should now see your custom dashboard:
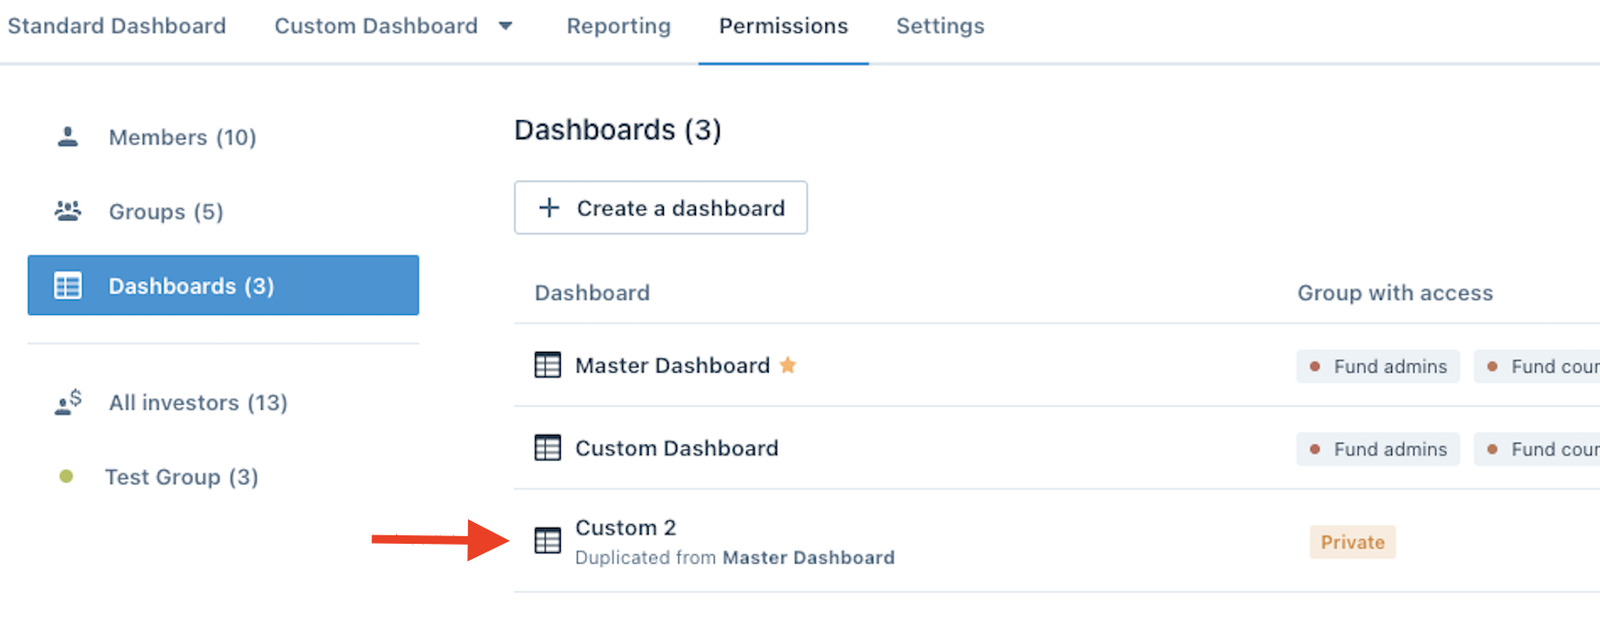
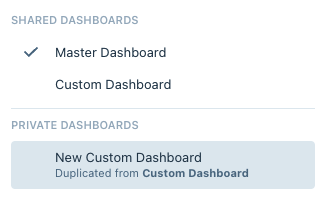
- Under Master Dashboard, click the down arrow and you should now see your custom dashboard under Private Dashboards:
Change Private Dashboard to Public
- In the Fund Sub, click Permissions:
- Choose Dashboards on the left Nav bar:
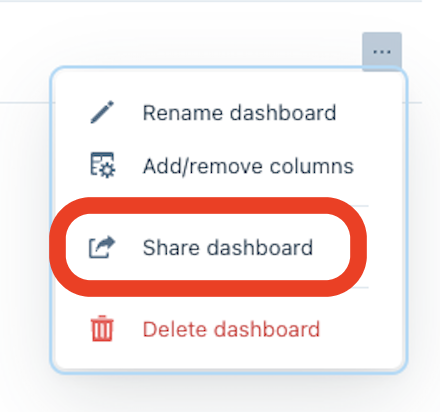
- Click the Menu(…) option on the right side of the dashboard you want to share:
- Choose Share Dashboard:
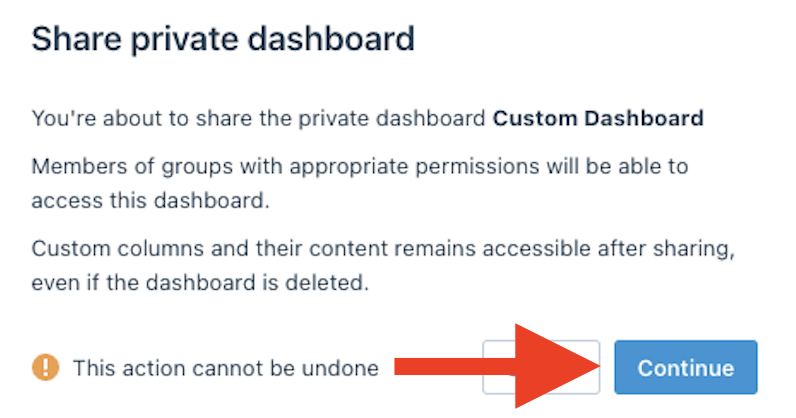
- Click Continue to confirm:
- Change the permission level for each group:
- Click Share Dashboard: